Grilling techniques, tips, and tricks:
Okay. We’ve discussed what grill to buy and how to maintain and prepare for grilling. Let’s get to the main event shall we? While I won’t be able to tell you how to grill everything, I can provide you my top ten techniques, tips, and tricks to grilling.
10: Preheat your grill
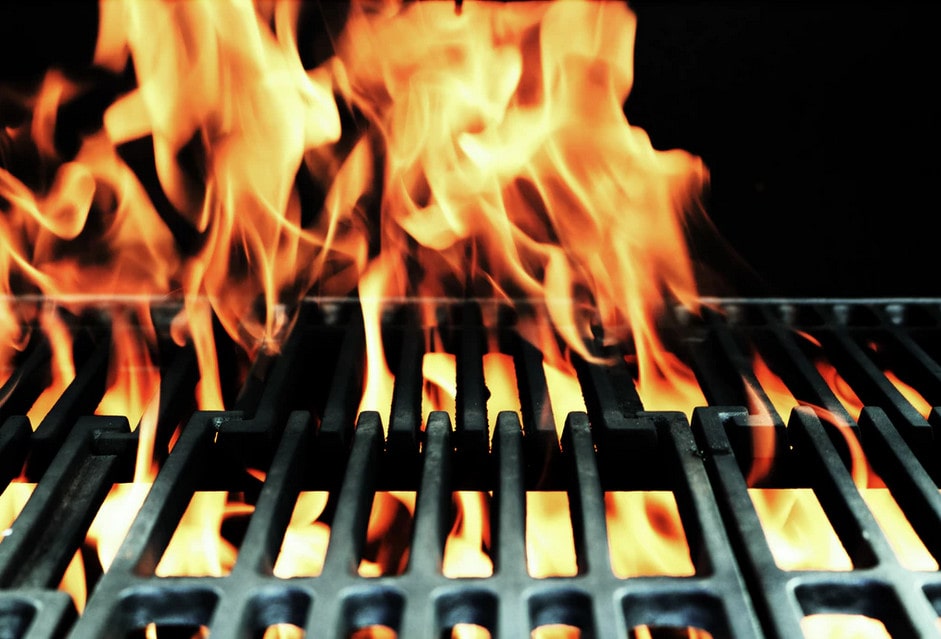
For 99% of grilling applications, you’re going to want some sort of sear, grill marks, charring, etc. You’re also going to want to cook in a reasonable amount of time without drying out your food or letting the food stick. Preheating your grill on high for 5 minutes will help with all of this; the more energy (heat) you can inject into the grates and grill means the more it can provide to the food once applied. The faster cook means less moisture loss, a nice crust, and helps to prevent sticking.
9: Leave your food alone
You’ve seen it, the grillmaster who flips the meat every 30 seconds because that’s “just how its done”. As a general rule, I will leave my food on the grill, lid closed, for several minutes minimum before thinking about touching it. This will create a nice crust/grill marks on your food and lead to quicker cooking. I try to only flip a few times, and only to get extra grill marks; food doesn’t cook when you’re holding it!
8 Don’t let your food stick
Food sticks to the grill for one of the following reasons: the grill wasn’t clean, the grill wasn’t hot enough, or you didn’t wait long enough. Simply put, on a clean hot grill, the food will let you know when it’s ready to be flipped; if it sticks, it means that the grill mark/char area hasn’t developed yet, which releases your food. Wait a minute and try again. Take out further insurance from sticking by making sure your food is dry. If you decide to cook something that’s perhaps extra sticky..
7: Know when to oil
I really prefer to oil the grates, not the food itself Over oiling the food can lead to that oil dripping off, causing flare ups, plus it can add a sneaky amount of calories. If you plan to cook something like fish or a honey marinated chicken for example, brush the clean grates with a little bit of vegetable oil on a towel right before grilling, and you’ll have no issues at all. If you do want to oil the food, make sure to let the excess drip off before grilling.
6: Additional pans and grates
Every try to grill asparagus right on the grates? You’ll end up sacrificing half of them to the grill gods for sure. Invest in a heavy duty grill pan (like this one) and throw it on when you preheat the grill. Cooking something unwieldy like a side of salmon? Put a small wire grate on top of your grates as it preheats; put the salmon right on that, then lift the entire grate out once you’re done.
5: Simulate the smoke
This entire time I haven’t even considered using a charcoal grill. They take far too long to get hot, and temperature control is very tough. Admittedly though, the charcoal smell flavors the food and tells the neighborhood that you’re winning dinner. You can simulate this easily however; take a few handfuls of wood chips, soak them in water for 30 minutes, then wrap tightly in some foil. Poke a few vent holes and stick right on the burner covers under the grates in the back. That subtle smoke flavor will emulate the charcoal goodness with the ease of gas cooking.
(Learn more about smokers from my friends at The Grilling Dad)
4: Plan ahead
When you’re grilling, you’re grilling. Don’t think you’re going to finish the meal inside or do dishes. That said, why not bring a cast iron skillet with you and cook right on the grates? Better yet, invest in a small outdoor prep table and bring the party out to the grill
3: Don’t forget about the veggies
An advantage of having a large grill surface means you can cook an entire meal at once. This works great for most dark and hearty vegetables like broccoli, asparagus, and Brussel sprouts. Steam them off for 2-3 minutes, then throw on a hot grill pan to develop those roasted, deep flavors (charred sprouts with apple cider vinegar and garlic are the best grilling side, hands down)
2 Use a thermometer
You know that trick that says to feel your palm to mirror the doneness of a steak? I tried it once after working out. If a steak can be called “super well done”, that was it. While a cute trick, I think we can be a little more precise. Get a probe thermometer and be precise. Remember that carry over cooking is important when…
1 Resting your meat
Don’t trip at the finish line. When your meat is done, pull it off the grill and let it rest for a few minutes, especially something large like a pork tenderloin or steak. As meat cooks, the juices inside get really hot (duh). This creates a sort of pressure inside the meat; if you cut into the meat while hot, it’s essentially like popping a water balloon. The resting will lower the pressure inside the steak and ensure that the juices stay in the meat, not on the plate.
Now that we’ve discussed grill selection, prep and mainteance, and tips & tricks, lets put all of that to use and make Grilled Skirt Steak with Charred Brussel Sprouts and Chimichurri Sauce! Or check out my friends at theFoodxp.com for more ideas!


